
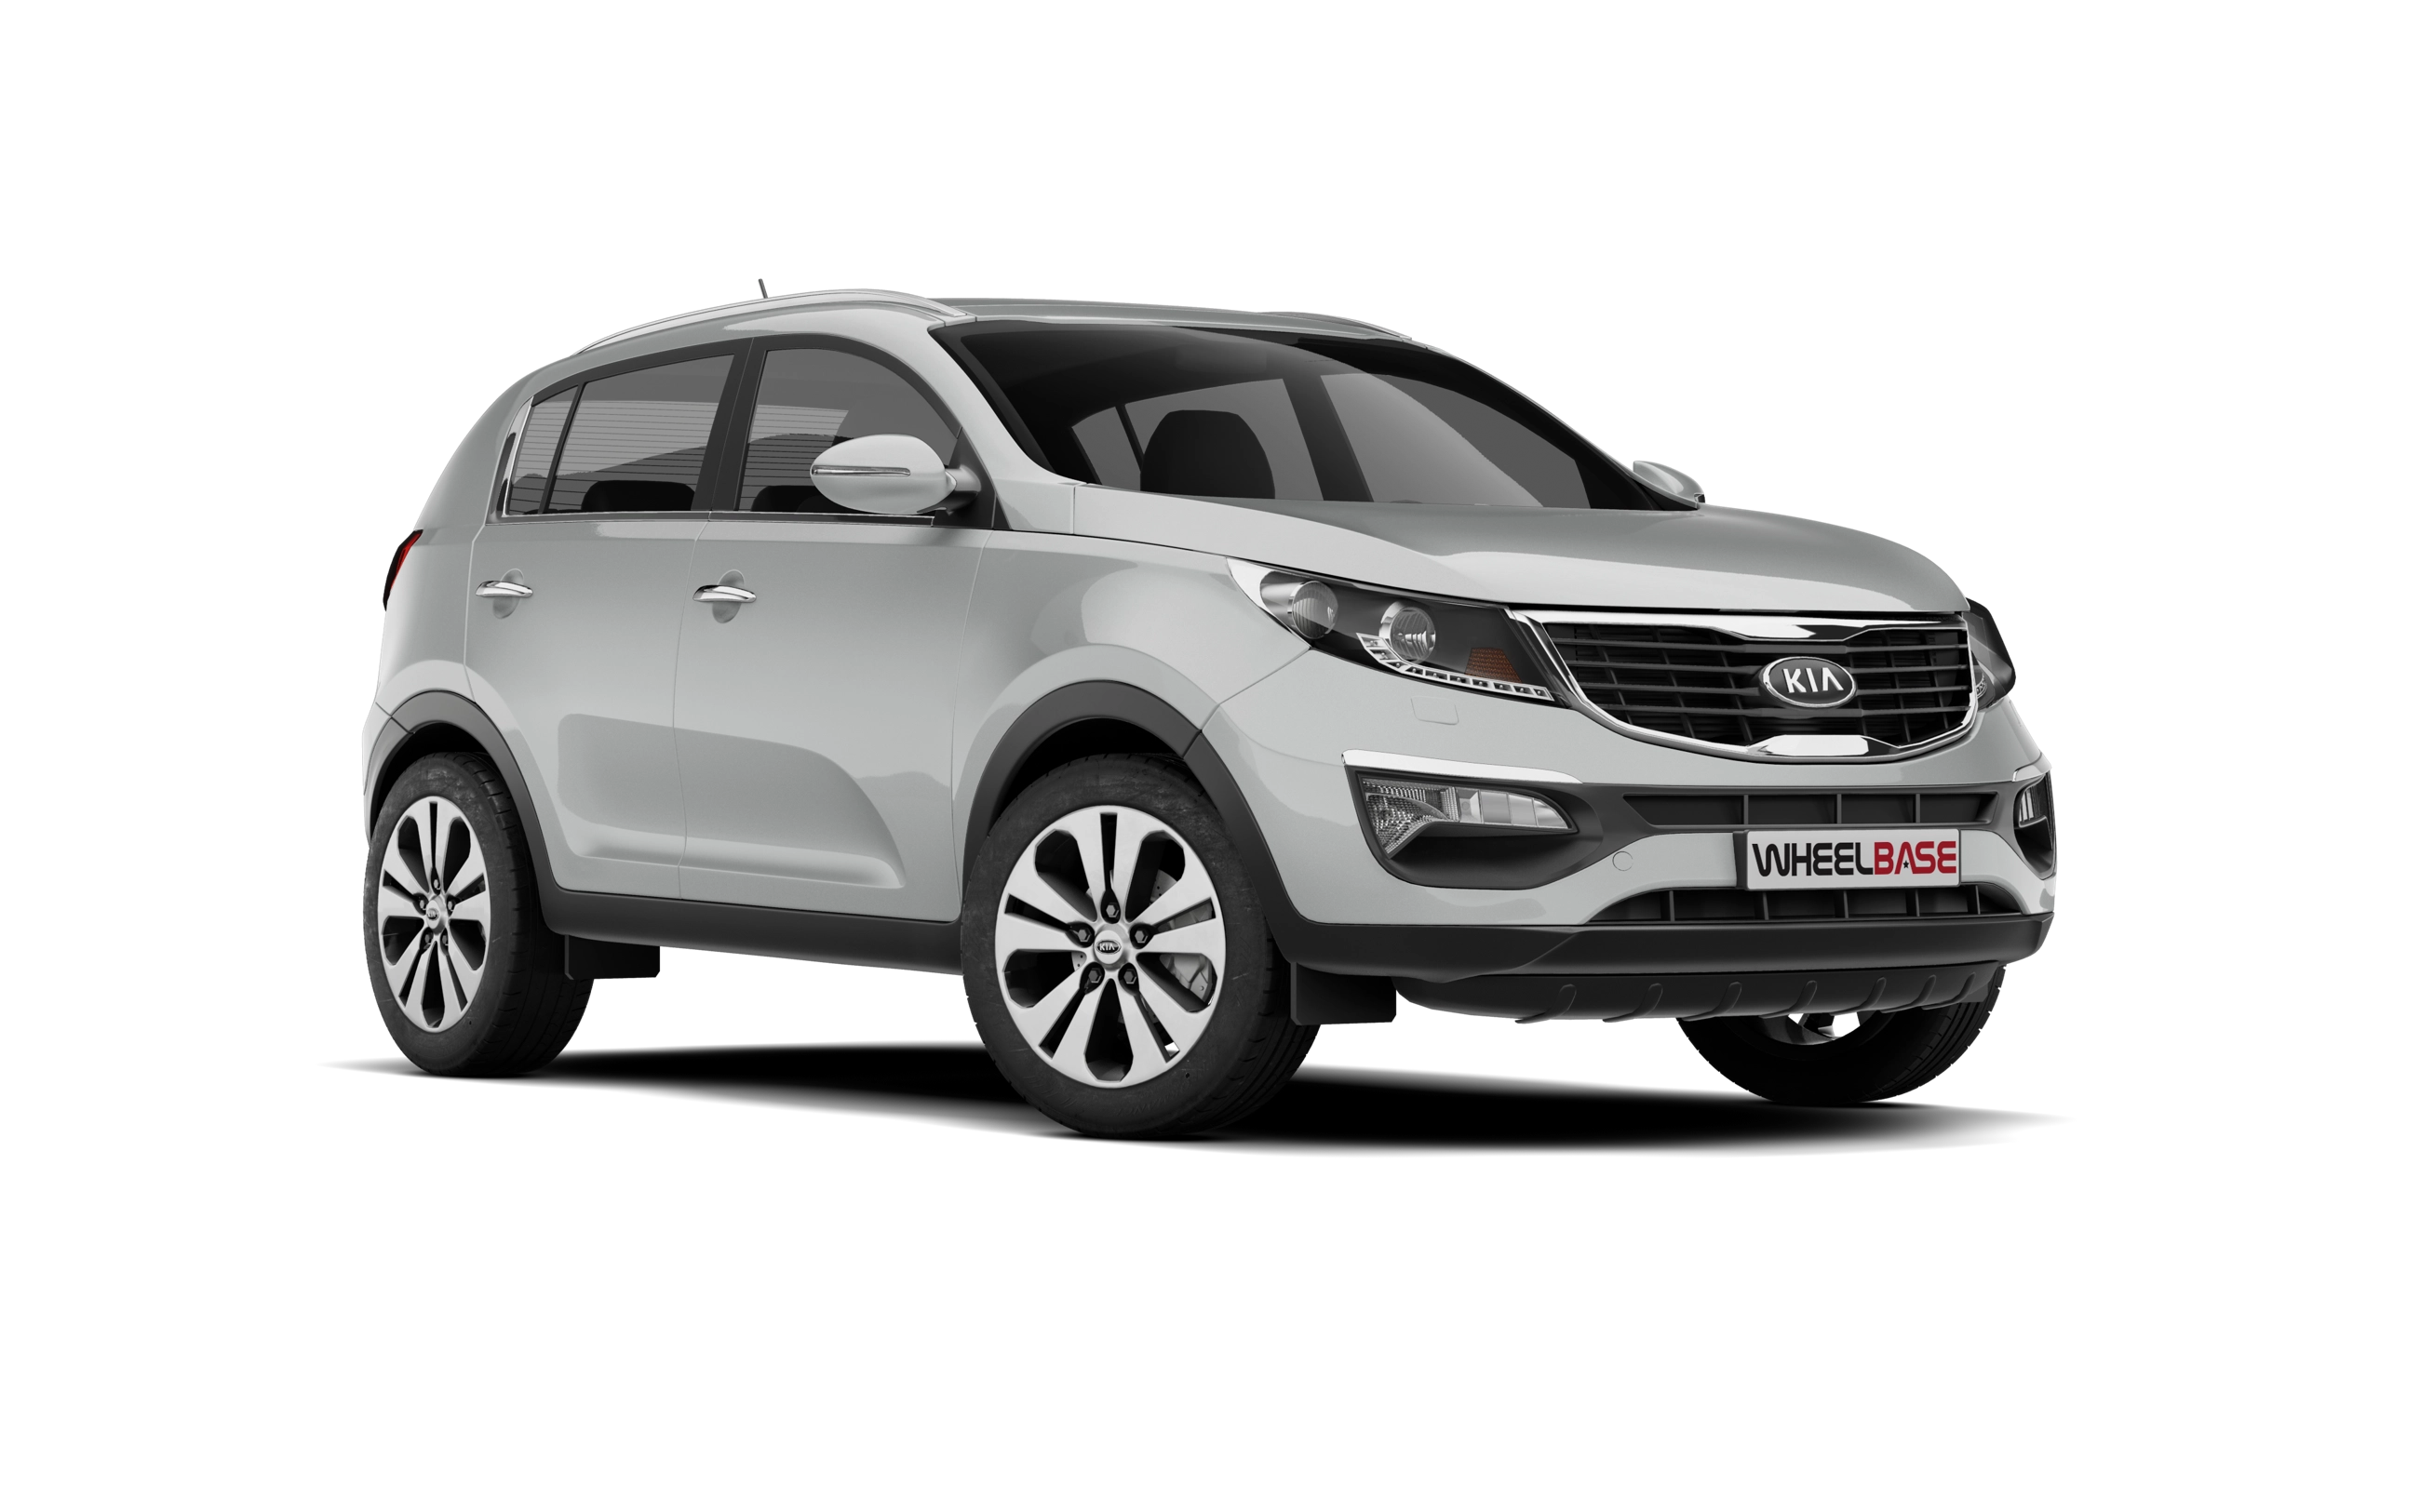
 Kia Sportage: Condenser: Repair procedures
Kia Sportage Service & Repair Manual (3rd Generation, SL; 2011-2016) / Heating,Ventilation, Air Conditioning / Air Conditioning System / Condenser: Repair procedures
| Inspection |
| 1. |
Check the condenser fins for clogging and damage. If clogged,
clean them with water, and blow them with compressed air. If bent,
gently bend them using a screwdriver or pliers. |
| 2. |
Check the condenser connections for leakage, and repair or replace it, if required. |
| Replacement |
| 1. |
Recover the refrigerant with a recovery/ recycling/ charging station. |
| 2. |
Disconnect the negative (-) battery terminal. |
| 3. |
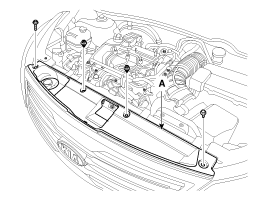
Remove the front bumper upper cover (A).
|
| 4. |
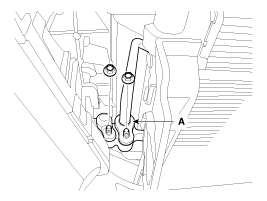
Remove the discharge line and liquid line (A) from the condenser.
|
| 5. |
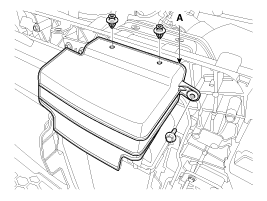
Remove the intercooler cover (A).
|
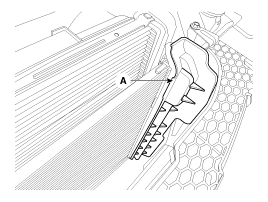
| 6. |
Remove the condenser side cover (A).
|
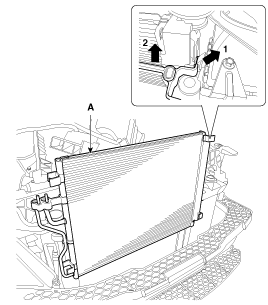
| 7. |
Remove the condenser (A) from radiator.
|
| 8. |
Install in the reverse order of removal, and note these items :
|
Component Location...
 Condenser: Components and Components Location
Replacement
1.
Remove the condenser, and then remove the bottom cap (B) with L wrench (A) from the condenser.
Tightening torque :
20~25N.m (2.0~2.5kgf.m, 14.5~18.2lb-ft)
2.
Remove the...
 Receiver-Drier: Repair procedures
See also:
Front Wiper Motor: Components and Components Location
Component Location
1. Cap2. Nut3. Wiper arm & blade4. Clip5. Cowl top cover6. Bolt7. Wiper motor & linkage assembly8. Wiper motor connector
...
Parking brake
Check that the brake warning light illuminates when the
vehicle is in the START or ON position. Before driving, make sure the parking brake
is fully released and the brake warning light is off ...
Front Strut Assembly: Repair procedures
Replacement
1.
Remove the front wheel & tire.
Tightening torque :
88.3 ~ 107.9N.m (9.0 ~ 11.0kgf.m, 65.1 ~ 79.6lb-ft)
Be careful not to damage to the hub ...
Categories
- Home
- Kia Sportage NQ5 (2022-2026) Owner's Manual
- Kia Sportage QL (2015-2019) Owner's Manual
- Kia Sportage QL (2015-2019) Service Manual
- Kia Sportage SL 2010-2016 Owner's Manual
- Kia Sportage SL 2010-2016 Service Manual

Copyright © sl.kispmanual.com 2014-2026 - 0.0603