
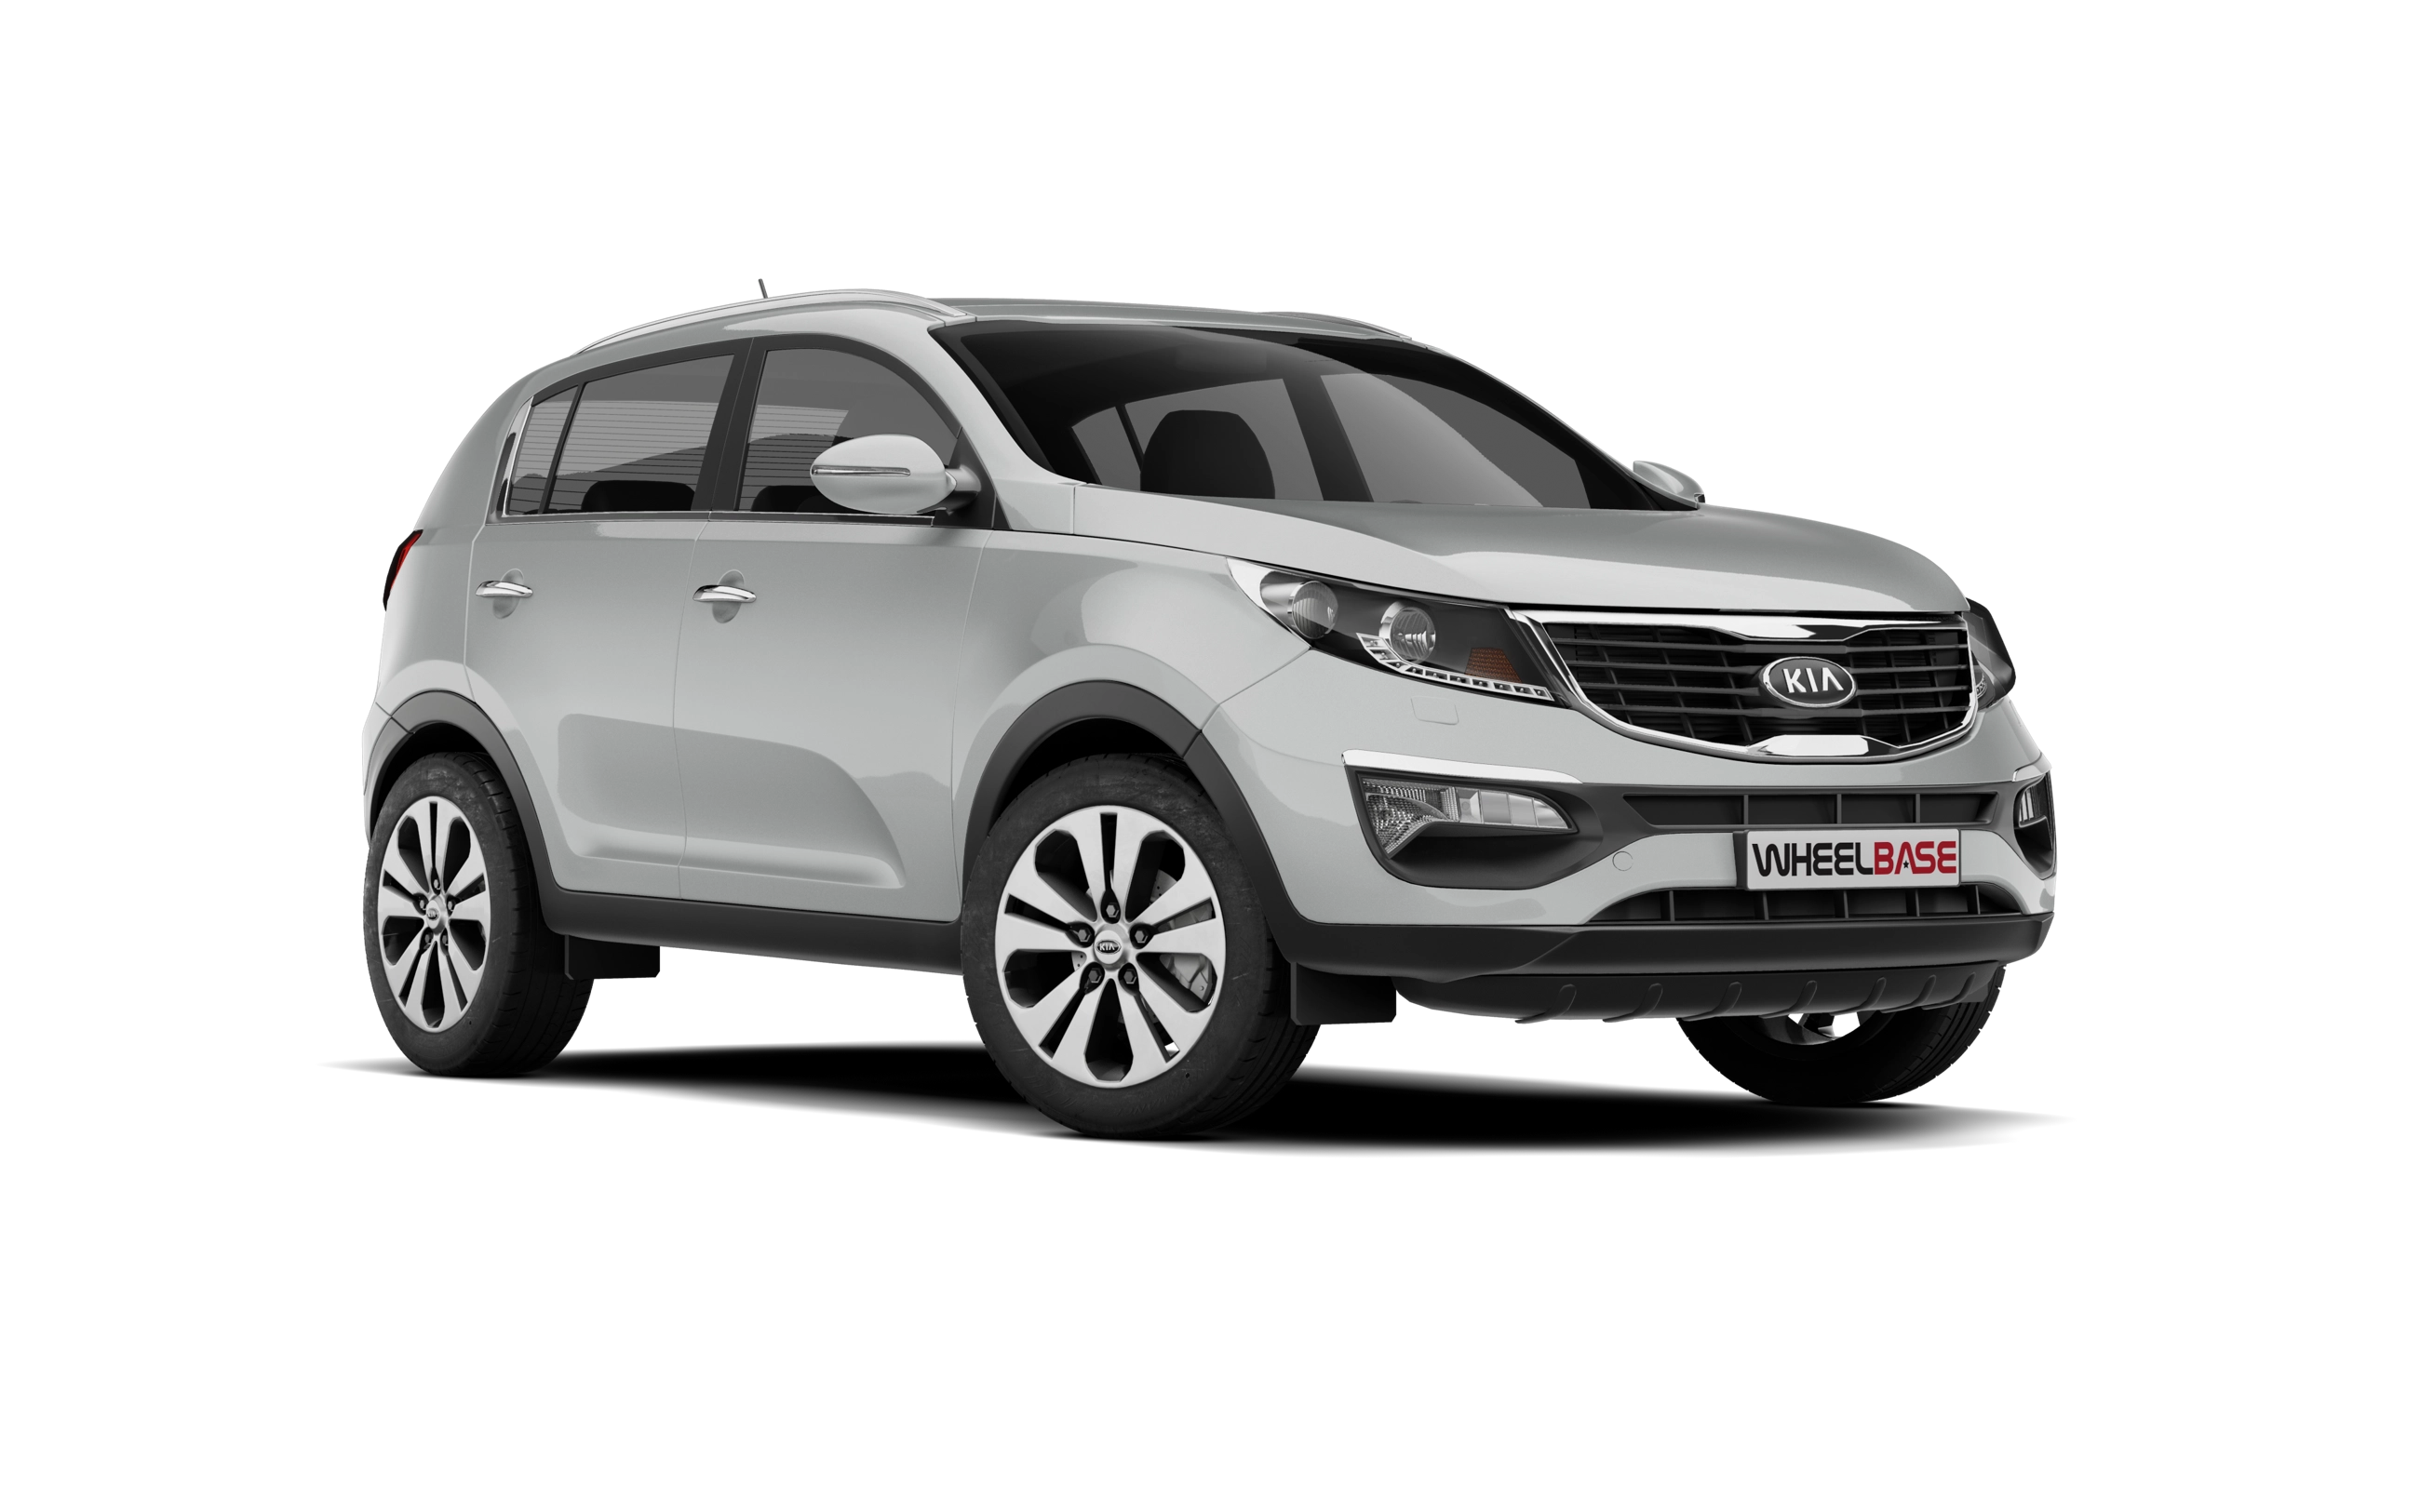
 Kia Sportage: Front Wiper Motor: Repair procedures
Kia Sportage Service & Repair Manual (3rd Generation, SL; 2011-2016) / Body Electrical System / Windshield Wiper/Washer / Front Wiper Motor: Repair procedures
| Removal |
| 1. |
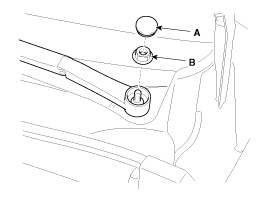
Remove the windshield wiper arm and blade after removing a nut (B) and wiper cap (A).
|
| 2. |
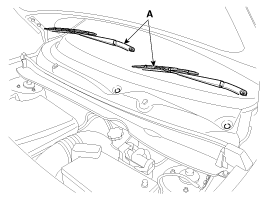
Remove the windshield wiper arm and blade (A).
|
| 3. |
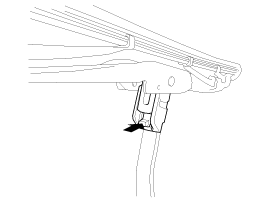
If necessary, release the wiper blade fixing clip by pulling up and remove the wiper blade from the inside radius of wiper arm.
|
| 4. |
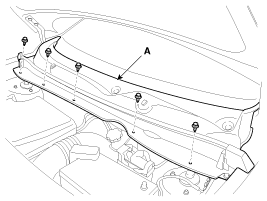
Remove the cowl top cover (A) after removing clips (5EA).
|
| 5. |
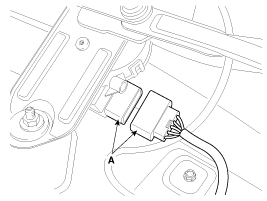
Disconnect the wiper motor connector (A) from the wiper motor & linkage assembly.
|
| 6. |
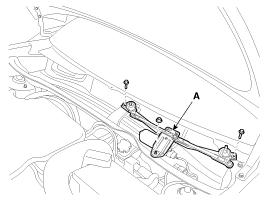
Remove the windshield wiper motor and linkage assembly (A) after removing 2 bolts and nut.
|
| 7. |
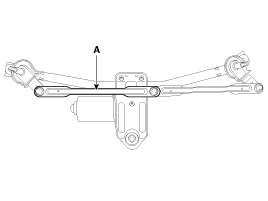
Hold the wiper motor crank arm and remove the upper linkage (A) from the wiper motor crank arm.
|

| 8. |
Remove the lower linkage (A) from the wiper motor crank arm.
|
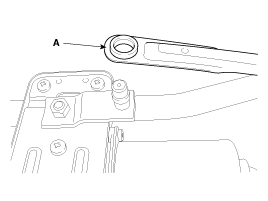
| 9. |
Remove the crank arm (A) after loosening a nut (B).
|
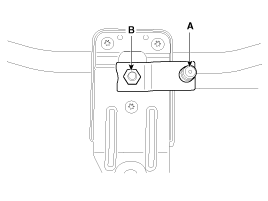
| 10. |
Remove the wiper motor after loosening the 3 screws.
|
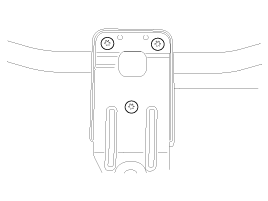
| Installation |
Do not allow the wiper arm to fall against the windshield, since it may chip or crack the windshield. |
| 1. |
Install the wiper motor. |
| 2. |
Install the crank arm.
|
| 3. |
Install the lower and upper linkage to the wiper motor crank arm.
|
| 4. |
Install the wiper motor and linkage assembly and then connect the wiper motor connector.
|
| 5. |
Install the cowl top cover. |
| 6. |
Install the windshield wiper arm and blade.
|

| 7. |
Install the wiper arm and blade to the specified position (A).
|
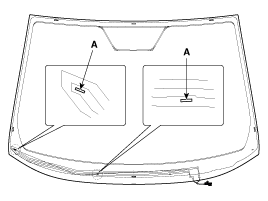
| 8. |
Set the cowl top cover on the specified spray position.
|
| Inspection |
Speed Operation Check
| 1. |
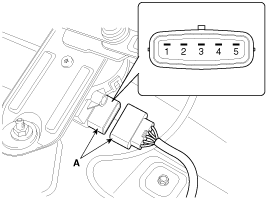
Remove the connector (A) from the wiper motor.
| ||||||||||||||||
| 2. |
Attach the positive (+) lead from the battery to terminal 3 and the negative (-) lead to terminal 1. |
| 3. |
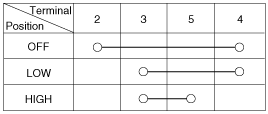
Check that the motor operates at low or high speed as below table.
|
Component Location
1. Cap2. Nut3. Wiper arm & blade4. Clip5. Cowl top cover6. Bolt7. Wiper motor & linkage assembly8. Wiper motor connector...
 Front Wiper Motor: Components and Components Location
Inspection
Front Washer Motor
1.
With the washer motor connected to the reservoir tank, fill the reservoir tank with washer fluid.
Before filling the reservoir tank ...
 Front Washer Motor: Repair procedures
See also:
Noise and smoke
When the air bags inflate, they make a loud noise and they leave smoke and powder
in the air inside of the vehicle. This is normal and is a result of the ignition
of the air bag inflator. After th ...
Schematic Diagrams
Circuit Diagram (1)
Circuit Diagram (2)
Harness Connector
Pin Function (Connector A)Pin Function (Connector A)1Ignition1Pressure side impact sensor [Driver] High2 -2Side impact ...
Underdrive Brake Control Solenoid Valve(UD/B_VFS): Repair procedures
Inspection
1.
Turn ignition switch OFF.
2.
Remove the air duct (A).
3.
Remove the air cleaner assembly.
(1)
Disconnect the breather hose (A) and brake booster intensifier hose.
(2)
...
Categories
- Home
- Kia Sportage NQ5 (2022-2026) Owner's Manual
- Kia Sportage QL (2015-2019) Owner's Manual
- Kia Sportage QL (2015-2019) Service Manual
- Kia Sportage SL 2010-2016 Owner's Manual
- Kia Sportage SL 2010-2016 Service Manual

Copyright © sl.kispmanual.com 2014-2026 - 0.0494